
Basic Photo Tips
Wednesday, April 30th, 2008 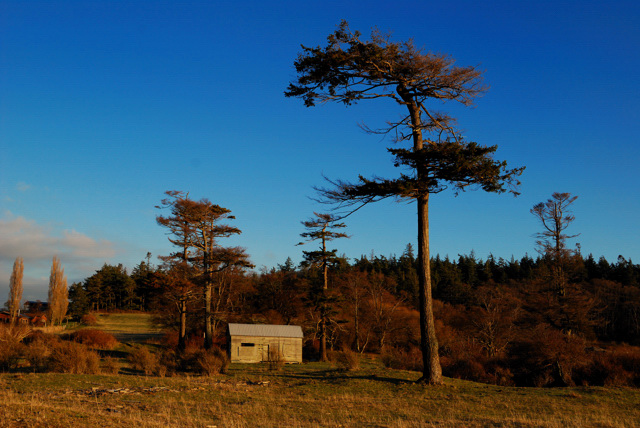
Subject-
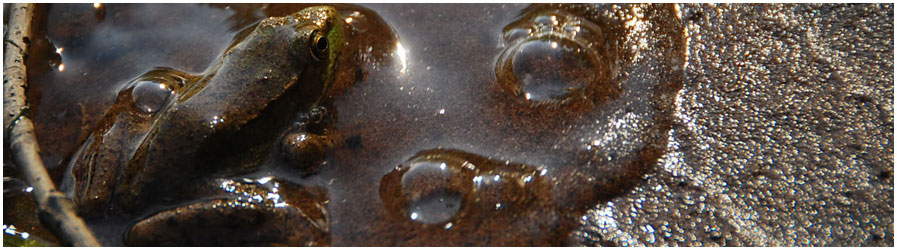
By looking at nature the way a camera might, you may start to notice great subjects all around you.
Close-up, this shack doesn’t look like much, but by applying a few techniques, it became a very worthwhile subject.
Your subject’s could include close-ups of plants and animals, night shots, buildings or countless other things from new or unusual angles. Oh yeah, there’s always people too.
Composition-
There are many ways you can shoot the same subject, each making a slightly different picture. Moving in on the subject usually makes for a stronger photo, leaving out distractions from your main focus. In this case, I was more interested in how the shack fits into its surroundings, so the whole scene was important.
Centering a subject can make for a static picture, but offsetting it, using the rule-of-thirds, makes for flow, causing your eye to travel around the picture. The rule of thirds suggests placing the subject a third of the way from the top or bottom of the frame and a third of the way from one side or the other.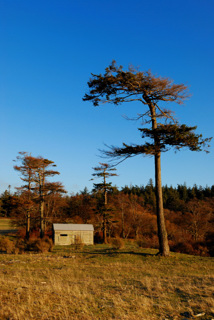
The framing and angle I used above was in hopes of achieving balance between the shack and tree. Some pictures end up lob-sided, due to a strong subject on one side and nothing to balance it. In balancing a wildlife or people picture, consider which direction the movement or gaze is and leave some space there.
Contrast, like between the light shack and its darker surroundings, draws attention to your subject, strengthening your photo. This can also work with a subject that’s darker, more colorful or larger than its surroundings.
After shooting your picture, you may want to try a few different angles, moving closer or farther, including or removing different foreground or background elements. Be sure to leave out distractions, like the tree that seems to be growing out of Aunt Edna’s head, but including that row of daisies might really add some pizazz to your picture.
Horizontal pictures can be more dramatic and may work better, especially with a tall subject. For this shot, I moved in, focusing more on the shack and tree.
Lighting-
Like many, I once believed that bright, sunny middays made for great pictures. After editing many pictures, and reading many photography books, I now realize that sunny midday light can be harsh with little color and problematic shadows.
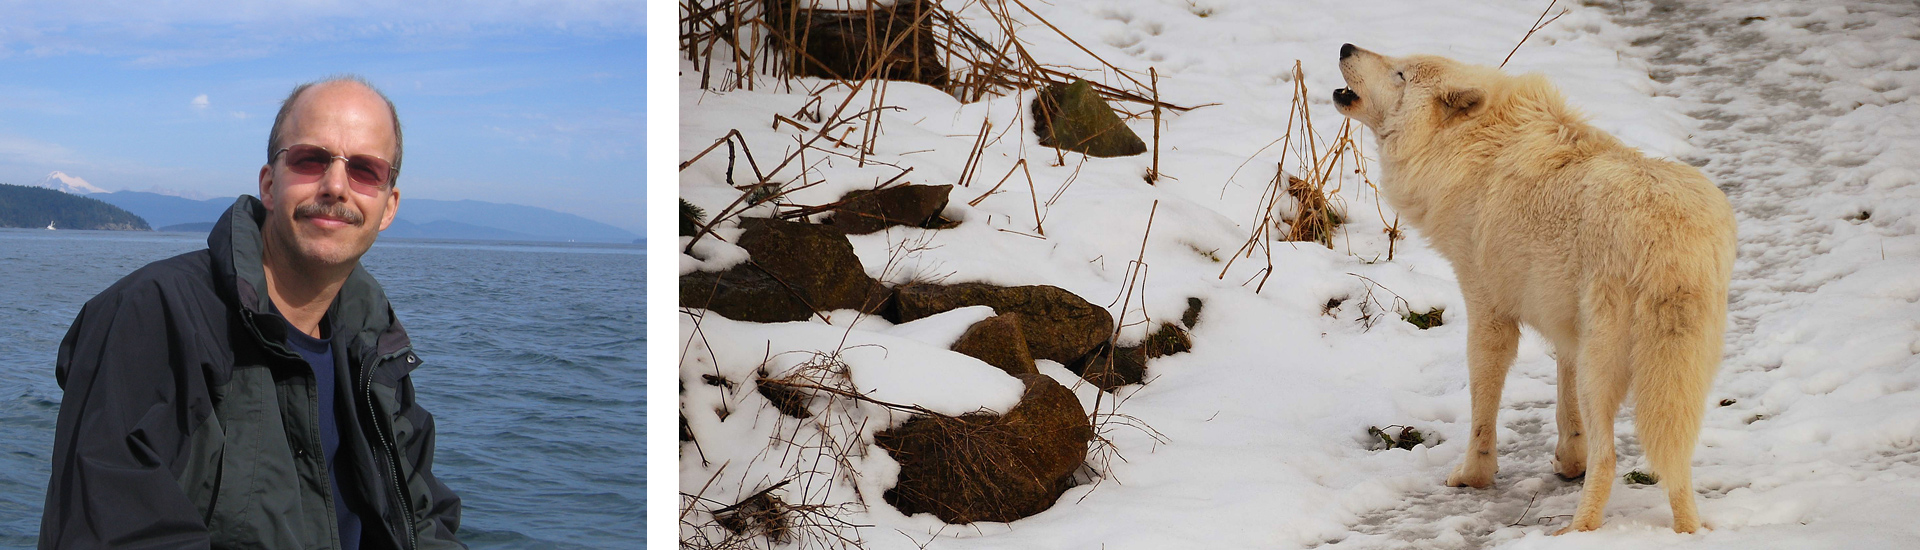
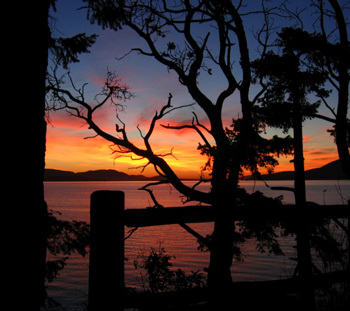
The first or last light of the day is softer with warm, flattering or dramatic colors, great for landscapes. In the first picture above, there are pink hues in the clouds and a warm cast to the whole picture. The sunny blue skies help too, but for wildlife, people, waterfalls and many other subject’s, bright overcast lighting can be better. It’s great for color saturation, softening shadows, smoothing contrast and preventing squinting.
There are some tricky lighting situations that might require adjusting your camera’s exposure compensation setting. If you’re not familiar with this, please see your manual, or just buy my prints and forget all this monkey business. Anyway, your camera may try to balance things that shouldn’t be balanced, like making a snow scene gray or a sunset scene bright. For sunset’s, I usually start by dialing down my exposure one f-stop, then experiment some more. Never heard of an f-stop? Please see the above comment again. Otherwise, I intend to eventually add more articles describing fascinating things like f-stops, depth of field, white balance…
Most Importantly-
Shooting a lot makes it far more likely that you’ll capture that great photo, especially if you experiment with different techniques and analyze what did and didn’t work. I carry my camera everywhere, just in case a bear and a mountain lion decide to wrestle at the side of the road I’m on. If you carry your camera too, maybe you’ll catch that perfect sunset or the rainbow after the storm.